by
by Want to find out how to get 3D modeling? Here’s the path to getting started with Blender if that’s your weapon of choice. It’s not half as hard as you might imagine, so keep reading.
First you should head on over to https://www.blender.org/download/ to see their list of available versions. At the time of writing, the latest one is version 2.91.2 and they’re regulary adding new ones (getting rid of old bugs, and perhaps adding some new ones!).
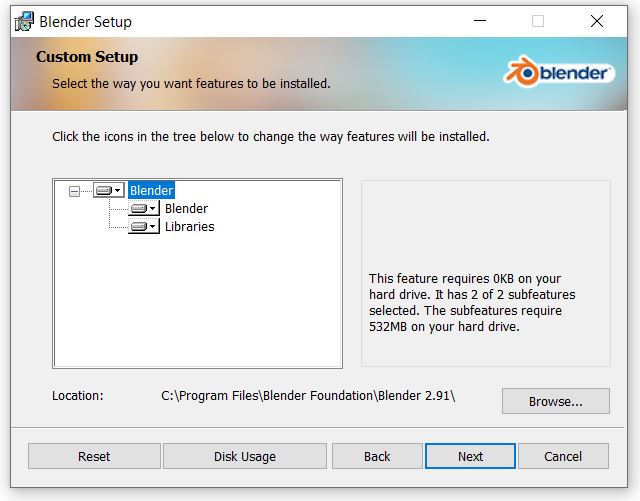
Click the big download button and install. You won’t need to restart your device as it should run fine once installed, you only need to pay attention to the choices in the ‘Quick Setup’ splash screen that pops up on launch shown below:
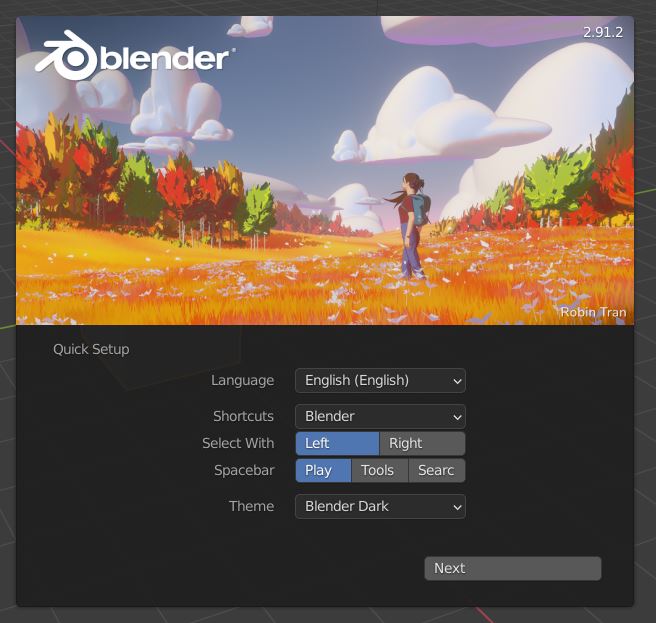
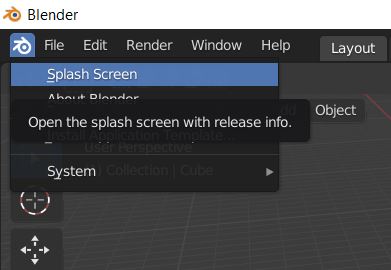
Selecting objects in Blender used to be a right mouse click only option, which annoyed many the artist who was used to selecting with the left button. Now however you get to choose, and if you change your mind afterwards, you can change the settings by clicking on the Blender icon left of the menus and choose Splash Screen.
So What Now?
You’ve installed and opened Blender and now all that’s left to do is make something. Blender even gives you a headstart with the grey cube mobel. (You can do better!)
Let’s focus on controls that let you view the cube or anything else you choose to make. You can zoom in and out of the view with the mouse wheel to get a better look. Then hold the mouse wheel down and drag the mouse around, you’ll view the object from various angles.
Now hold down the Shift key and the mouse wheel and drag it around, you’ll get a better view of the surroundings in the view if you have multiple objects that take up screen space.
Let’s Edit This Boring Cube
The first model you notice opening Blender is the cube that is shown by default. To shape it into something else you need to change mode, select it and reposition its parts as needed.
First change mode to Edit mode, the menu is found top left of the application.
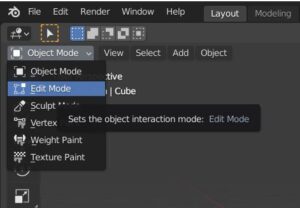
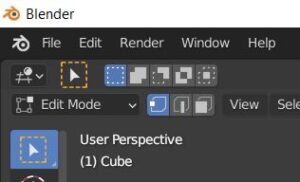
After that, check the 3 boxes to the right of the Modes choices and you’ll notice the first one is highlighted. In order the boxes represent Vertices, Lines and Sides, i.e. parts of an object. If you’ve never heard of Vertices before, think of the points on an object that multiple sides meet at.
 With this box selected in Edit Mode, left mouse click on any of the Vertices (cube corners) or click the screen and drag a selection box around a few of them. Then head to the Move tool on the left set of icons (it has 4 arrows pointing up, down, left and right, and then you’ll notice the colourful 3D arrows appear somewhere on your cube.
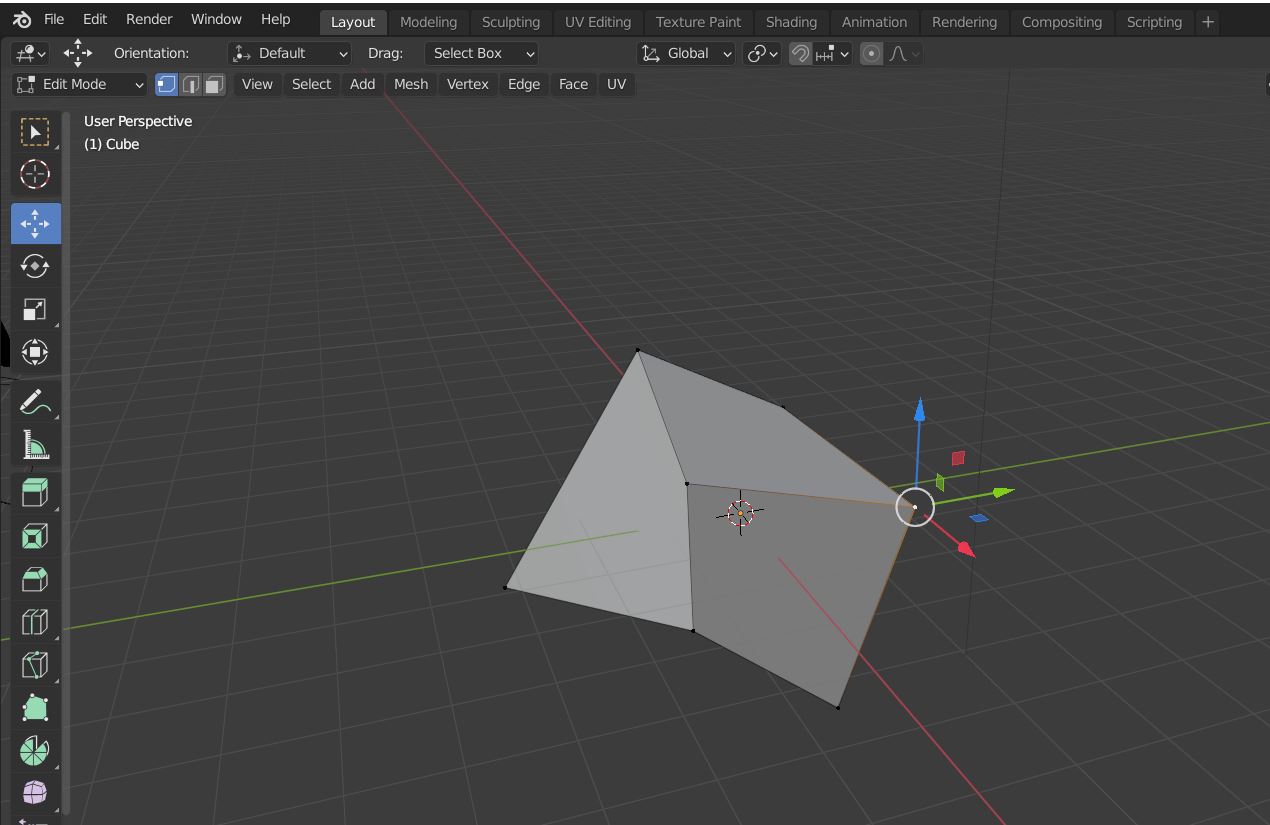
In a nutshell, the move tool pops up on your selected area and by clicking and dragging one of the arrows you can move the vertices around, reshaping as you go. Congratulations, you’re officially modeling! There’s lots more to learn but everyone has to begin somewhere.