by
by In this post we explain how to repeat objects around a shape in Affinity Designer. This will help your design process be faster and more accurate. The following example will show you how to create an image of a sun.
Creating the Object to Rotate Around
After you’ve opened a new document look for the red magnet icon at the top to turn on Snapping. This will help you position shapes you add on the page and you will notice the guidelines that become visible as you move the items around.
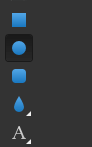
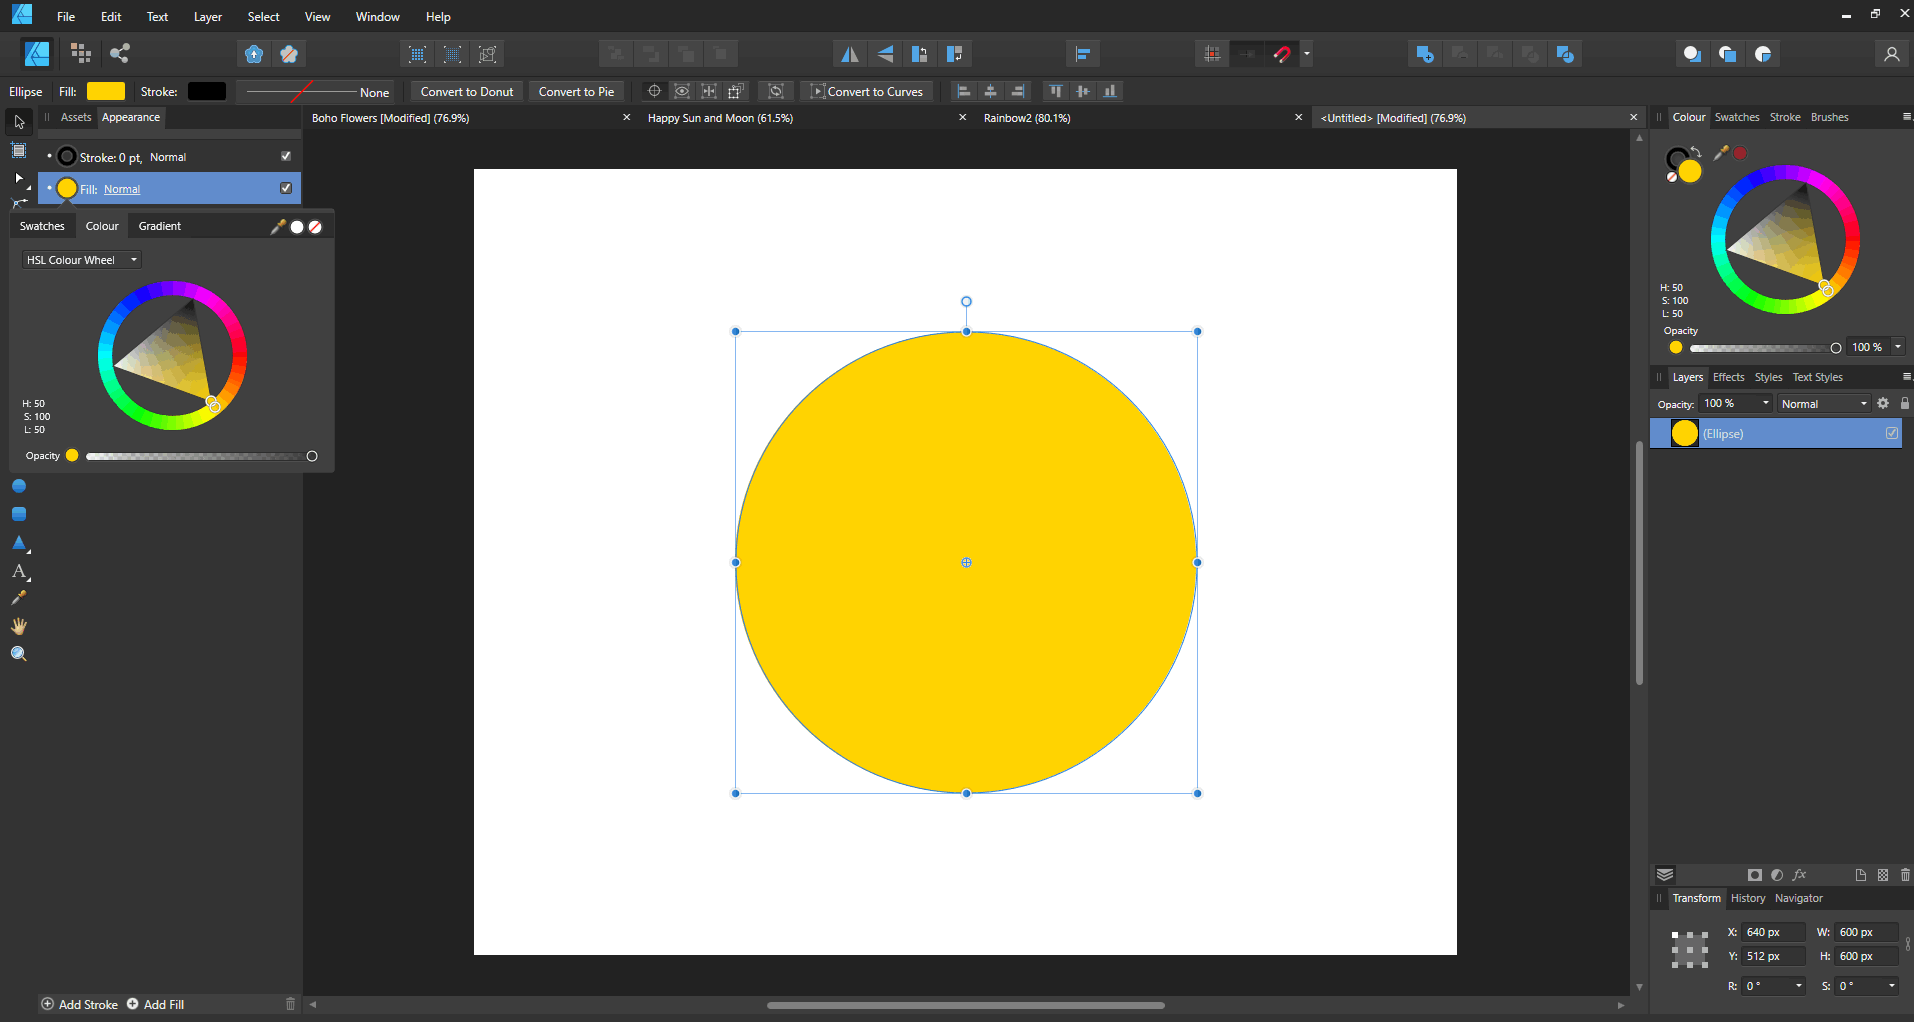
Now look for the circle symbol from the Tool menu and draw a circle out on the page.
Edit the colour from the Fill option when your Sun is selected, and to edit the size of the sun head to the bottom right corner where you’ll find the Transform menu with pixel sizes. In the following image we have 600 pixels by 600 pixels, use any size you like just make sure it’s a perfect circle not an oval.
Then add the first object that will be repeated around the sun. Here we’re adding a triangle from the Tool menu shown below.

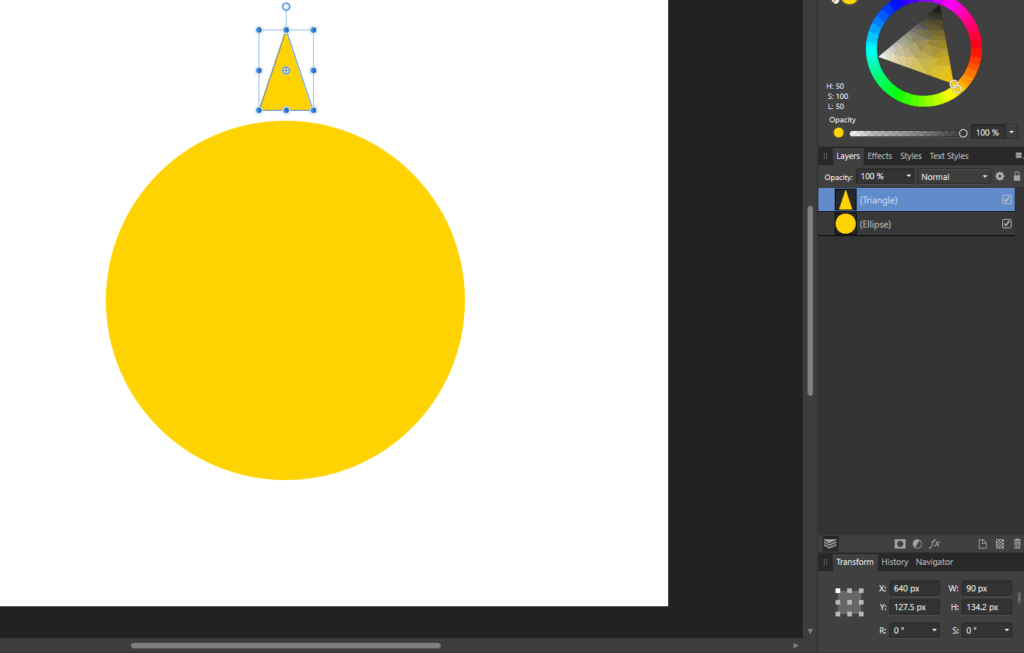
Place the triangle at the top of the circle (The Snapping feature mentioned earlier really helps here!)
Changing the Origin Point for Rotation
Here we need to set the point on the page that your triangle will use to rotate around. We’re going to make many triangles really quickly without having to create them one by one and keep placing them around the sun.
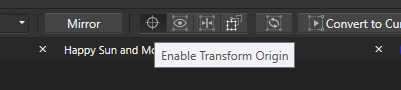
Find the Enable Transform Origin and make sure it’s enabled/clicked.
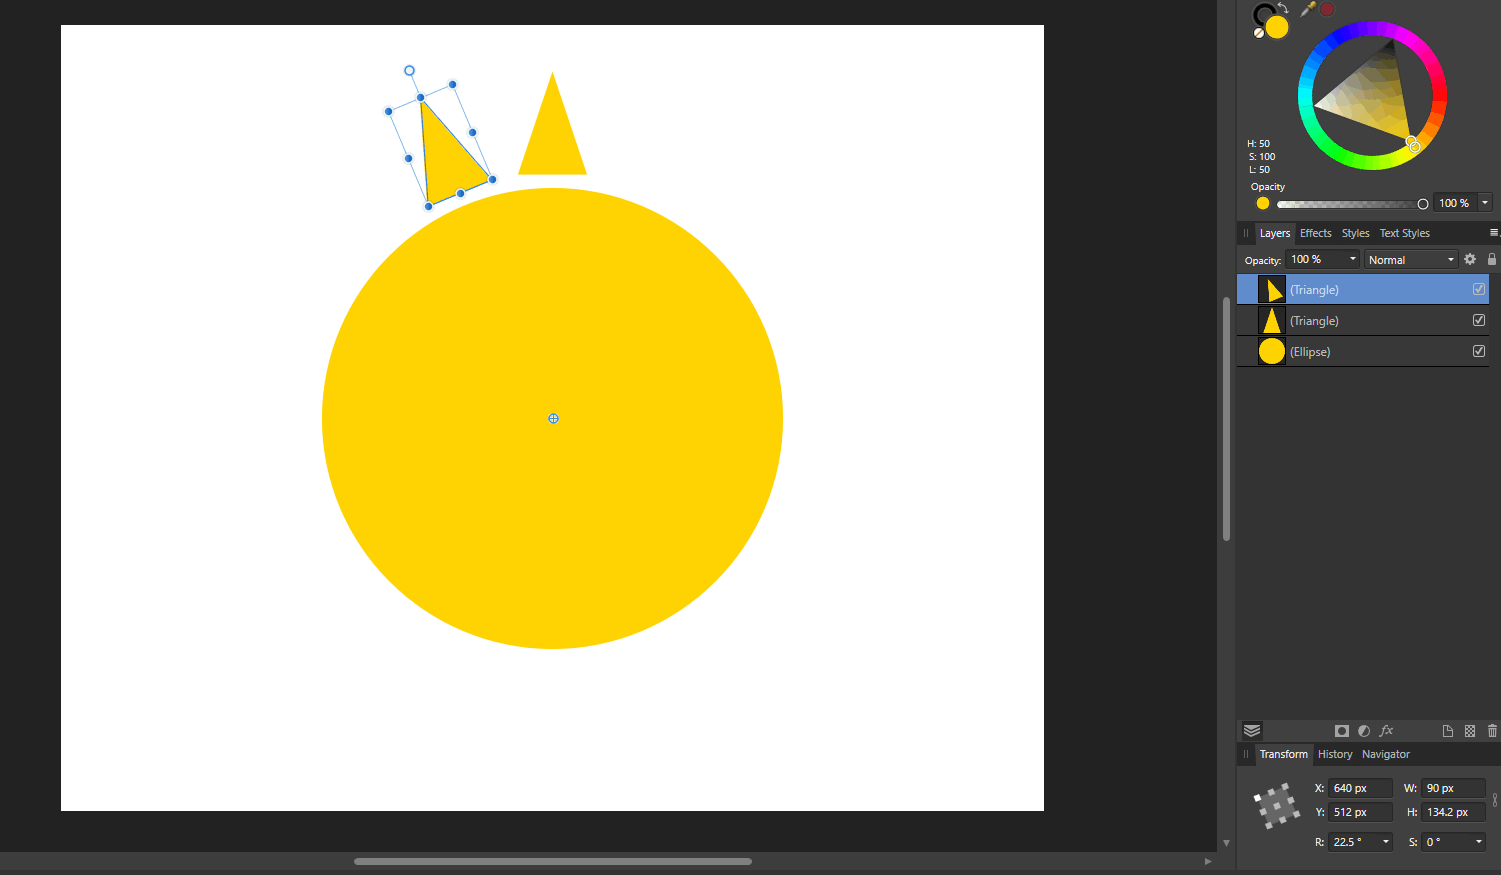
With the triangle selected you should now see a small cross symbol in the middle of it which you can click and drag away from it. Snap it to the center of the sun instead.

Click the triangle once more and press the Ctrl + J keys on the keyboard to make a copy. The new copy appears exactly above the old one, and we are about to move it.
Then go back to the Transform menu on the bottom right corner of Affinity and type in 360/16 in the R (Rotate) field. 360 refers to degrees and in this example we’ll have a total of 16 triangles.

Once you click enter it will calculate the number of degrees we actually need to rotate and the second triangle you created will move into its new place.
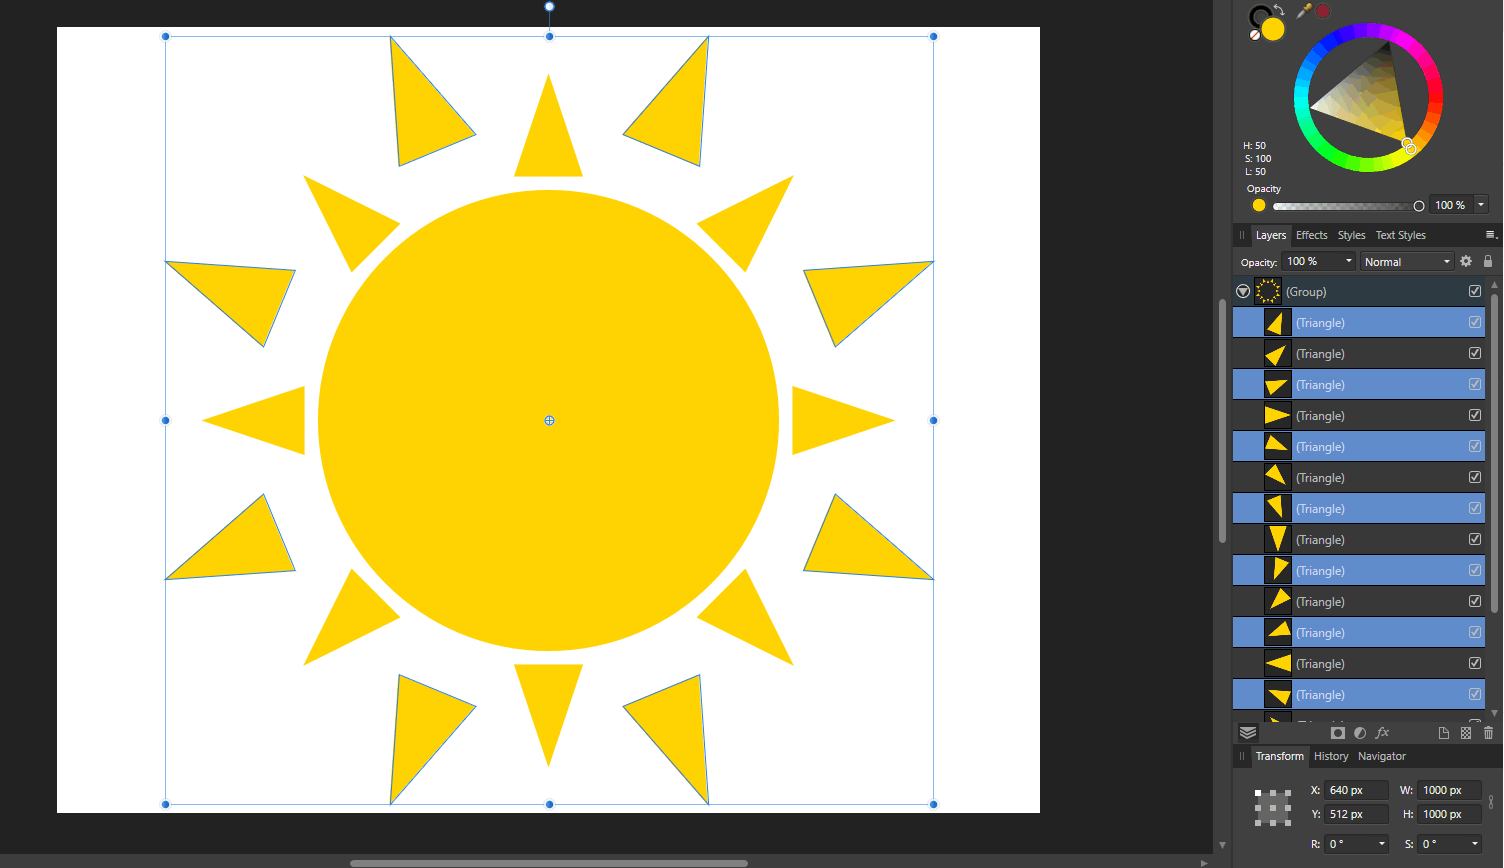
After that just carry on pressing the Ctrl + J keys until you get all the triangles around the sun.

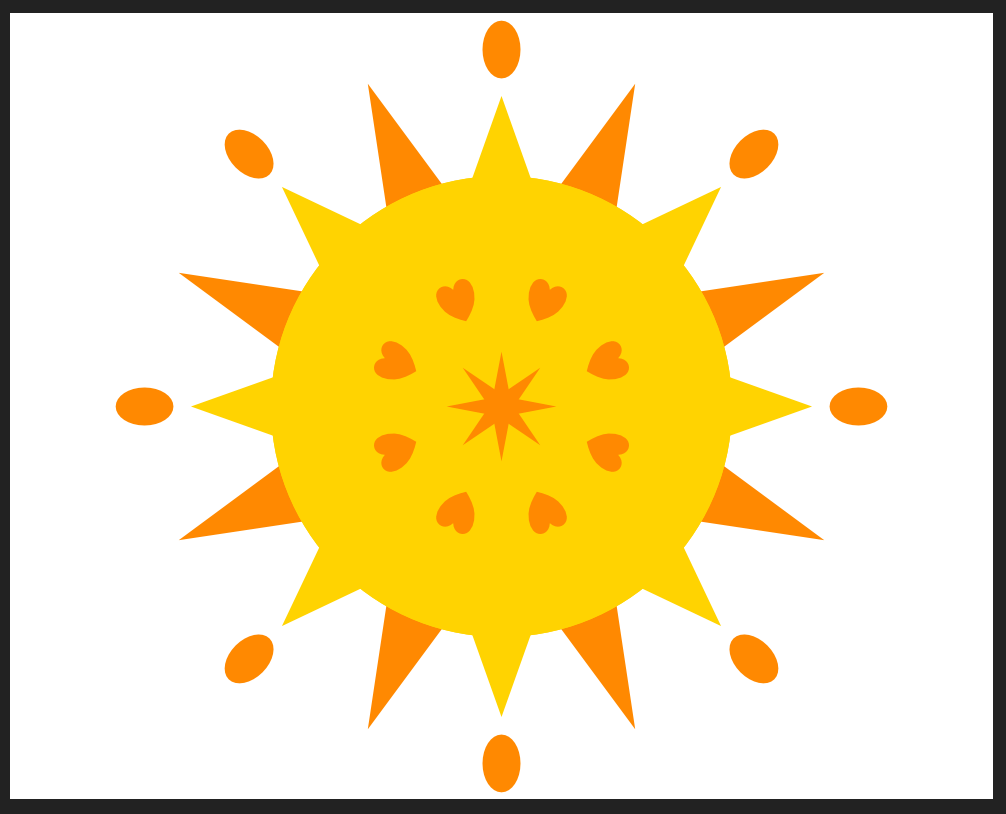
Now you have yourself a lovely sun image. (or a sunflower in the making if you like.)
Taking Your Design Further
To practice the procedure with additional objects, you can play around with other shapes and try different amounts in the Rotate field to learn how Affinity is calculating the position to move an object to.
Here every second triangle has been selected and had the size changed to add some variety to the image.
Going a step further you can add other shapes and make an interesting symbol or pattern, just use your imagination!